Connecting Kids to Nature - Tree Print Salt Dough Ornaments

A fun activity for the whole family or classroom, with little effort and plenty of ways to make it personal.
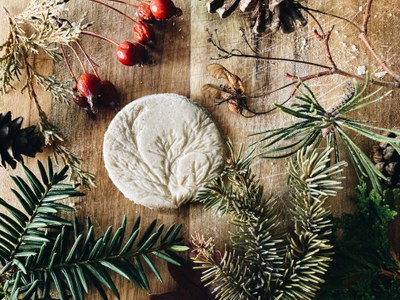
Salt Dough Ornaments are easy to make and the perfect activity for kids to do during the month of December. Especially on days that are too cold or snowy to play outside (which seem to be abundant here in North Dakota). For additional fun if the conditions allow, pair this with an outdoor scavenger hunt to help kids collect natural items from trees to use for imprinting and designs. Evergreen needles and branches are often used for holiday decorations, so look for juniper, spruce, cedar, fir, yew, and pine needles. Mugo pine and Scotch pine trees have shorter needles than Ponderosa, which seemed to work better for these ornaments. You can also look for cones, seeds, and even do a bark rubbing for more inspiration! Let those creative juices flow!
This recipe makes about 10 ornaments.
Ingredients
In addition to these key ingredients to make the dough, you’ll also need some additional
|
 |
Recipe
- Preheat your oven to 200°F. Place the rack in the center position.

- Prepare a large baking sheet by lining it with parchment paper.
- In a medium sized mixing bowl, combine the flour and salt until well whisked.
- Make a well in the center of the flour mixture and slowly pour in the water, starting with half the amount and adding more as needed to form a firm dough that is moist but not sticky. Stir well.
- Knead the dough for about 10 minutes on top of parchment paper or baking mat until the dough is smooth. You may need to add an additional tablespoon of water to the dough, as it can dry out as you work with it.
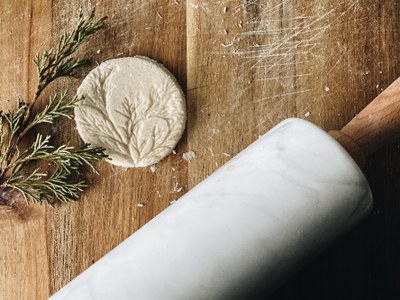
- Roll out the salt dough to your desired thickness.
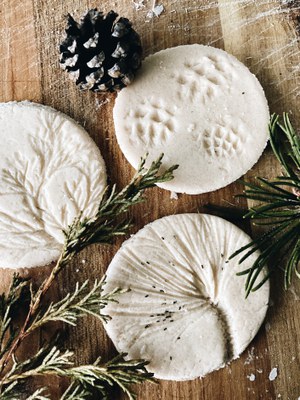
- Lay out your needles, seeds, or twigs on the dough, then using a rolling pin, gently roll over the tree materials to make an imprint. Lift and remove the tree materials. If using a cone, manually roll the cone across the dough to help the scales imprint on the dough.
- Using your cookie cutters of choice, cut out your ornaments. If you are going for circle ornaments, we found that a drinking glass turned over worked well for creating the perfect circle!
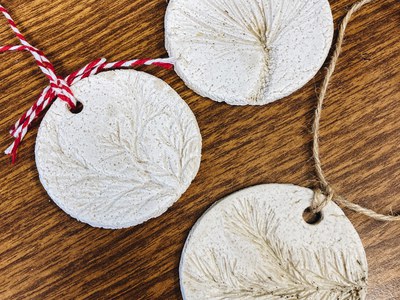
- Place the salt dough ornaments on a parchment paper lined baking tray, then cut a hole near the top with a drinking straw.
- Then, bake at 200 degrees F for an hour, or until dry. Flip half-way through.
- Alternatively, salt dough ornaments can be air-dried. Let the dough air dry naturally for about 3-5 days. Larger or thicker ornaments may take up to a week to air dry.
- After cooling, thread the ribbon or string through the holes and tie to hang.

Ta-da! You now have unique, forestry-friendly ornaments to hang on your Christmas tree! For extra fun, add strokes of modge-podge on your design and add glitter on top of the paste (letting it dry). Acrylic paint can also be used on these ornaments.
Have an artificial tree but love the smell of fresh, real Christmas trees? Adding essential oils to your salt dough will give it a great scent that you can enjoy in your home! Simply add 5-15, depending on your preference, drops of Fir Essential Oil. For best results, you will want to air dry any salt dough ornaments that you have added essential oils to so that the scent remains longer.

