Preparing RVs for Winter Living (AE1510, May 2018)
Availability: Web only

* Sealing air leaks and insulating can reduce heat loss and improve comfort.
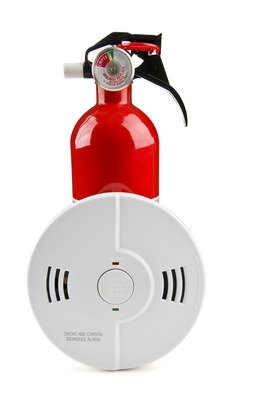
* Safety: Do not make alterations or heat an RV in any way that could create a safety hazard. This includes using unvented heaters, such as space heaters or the gas stove/oven, in the living space. Unvented combustion heaters produce carbon monoxide, a colorless, odorless gas that can be fatal, and almost ½ gallon of water per gallon of fuel. Any heaters that burn a fuel source inside the living compartment must be vented properly to remove poisonous gases. Make sure to have a fire extinguisher and smoke and carbon monoxide detectors.

* Moisture control: Unlike unvented heaters that burn a fuel source such as propane, electric-resistance and vented-combustion heaters will not create moisture problems. The people and pets living in the RV will produce lots of moisture. Condensation will form on cool surfaces when the air is moist. Health hazards, such as mold, are possible with high humidity levels. Periodically provide some ventilation to avoid creating unhealthy living conditions and damaging camper components. Monitor the humidity level and keep it at 30 to 40 percent or lower, depending on the amount of condensation. You can find humidity monitors at most hardware stores.
Where to Concentrate Air-sealing and Insulating Efforts
* Windows
- Double- and triple-pane windows slow heat transfer and reduce condensation issues but often are not found in RVs. You have ways to create the same effect. Installing Lexan or thick plastic films on the outside of the windows and adding plastic or heat-shrink films on the inside can reduce heat loss and cold air infiltration.
- Install curtains that are not just for decoration but will provide some insulating value as well. Quilted fabrics or polar fleece work well and can be purchased at fabric stores or larger retail stores. Sealing the curtains to the wall with Velcro or other fasteners will reduce air drafts.
- Cover windows that are not used for light, especially those on the north side of the RV, with rigid foam insulation and seal them to reduce the heat loss.
* Doors
- Add weather-stripping around the door frame.
- Doors can be poorly insulated, so use a blanket or piece of insulating fabric to create a full-length curtain for the door as you would for windows.
* Ceiling Vents
- You may need ventilation to replace humid inside air with drier outside air. Plugging and insulating ceiling vents with something that seals the vent but also can be removed easily is important. To insulate ceiling vents, purchase factory-made vent plugs or use rigid insulation cut to the size of the opening and wrapped with duct tape to strengthen it.
* Plumbing and Electrical Openings
- Seal the areas around plumbing and electrical openings to the outside. If possible, use caulk for small gaps and expanding-foam insulation for larger areas. Use caution because foams can expand and damage certain areas. Low-expansion foams, typically used around doors and windows, are available. Remember that fiberglass insulation does not stop air movement, so simply stuffing fiberglass into openings will be effective only if the air leaks are sealed.
* Skirting
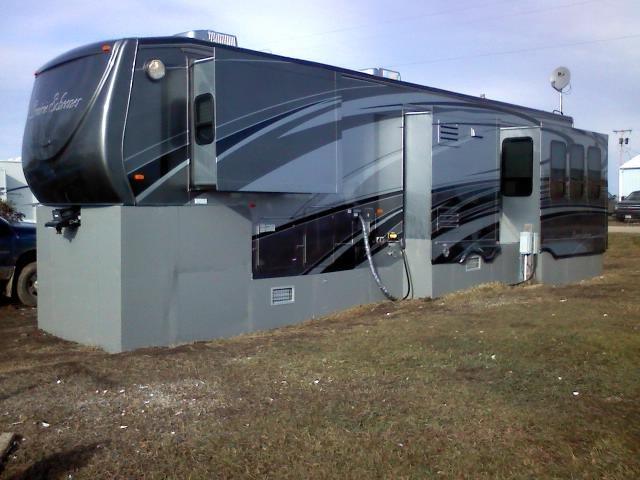
- Adding skirting to the RV is essential to reduce heat loss. You can buy skirting made commercially or from a variety of materials such as plywood or rigid insulation. Insulating the skirting with rigid insulation helps keep the area under the RV warmer, which will keep the floor warm and the area under the RV from freezing. If the ground has not frozen and the area allows it, burying the skirting in the ground a few inches will add stability and reduce air flow.

For a few examples of how others have provided skirting for their RVs, check out the following web links. (Note: These examples are not the ideal way to seal the underside of an RV but can work as a short-term fix. Check with local RV dealer for professional skirting installers.):
- Do not use straw or hay bales due to moisture, rodent and fire issues.- Rodents may be attracted to the dark and warm areas created by adding skirting to an RV, so use some rodent control measures. Your best option is to seal any hole larger than ¼ inch. Fill holes with expanding foam and place a thin piece of aluminum cut from a pop can over the holes. You also can use traps and poison baits if the sealing material leaves some gaps.
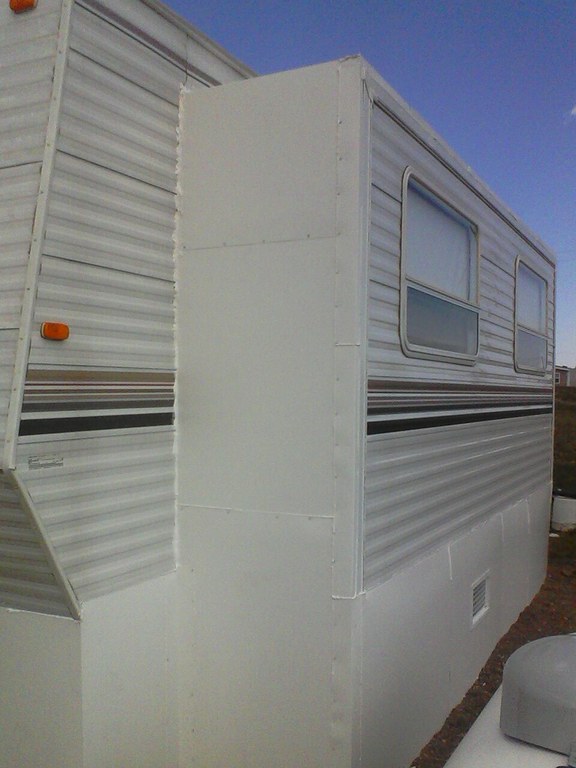
* Slide-outs (shown)

- You should remove snow from slide-outs regularly to reduce water damage. As snow accumulates on top of the slide-out, the heat from inside the RV can melt the bottom layer of snow, creating an ice dam. You also can add insulation by using rigid insulation sealed to the camper body. However, angle any insulation you place on the top of the slide-out to allow water to drain away from the RV.
Water Systems
* Water Tanks
- Check whether tanks or plumbing are insulated and heat can circulate around them. You may need to leave cabinet/access doors open or use small electric heaters if possible.
- Any plumbing that is not insulated and kept warm, such as external showerheads or faucets, need to be drained to avoid damage from freezing water.
- Keeping fresh-water lines open can be very difficult in North Dakota winters. Wrapping the hose line with heat tape and insulating with pipe insulation is an option, but this may create a fire hazard. Using the fresh-water tank on the RV might be easier if the tank is insulated and will not freeze. Also, fill the tank periodically and isolate it from the exterior
with insulation.
* Gray and Black Water Systems
- Check to ensure the tanks are insulated. Electric holding-tank heaters are available and will reduce the chances of tanks freezing. You also should empty the tanks periodically instead of letting them empty continuously. Keeping the exterior drain pipe from freezing will be very difficult. Do not rely on flexible drain hose, which easily can become brittle with extreme cold; instead, install PVC pipe into drains.
This publication was authored by Kenneth Hellevang, Extension Engineer and Carl Pedersen, former Energy Educator

May 2018

